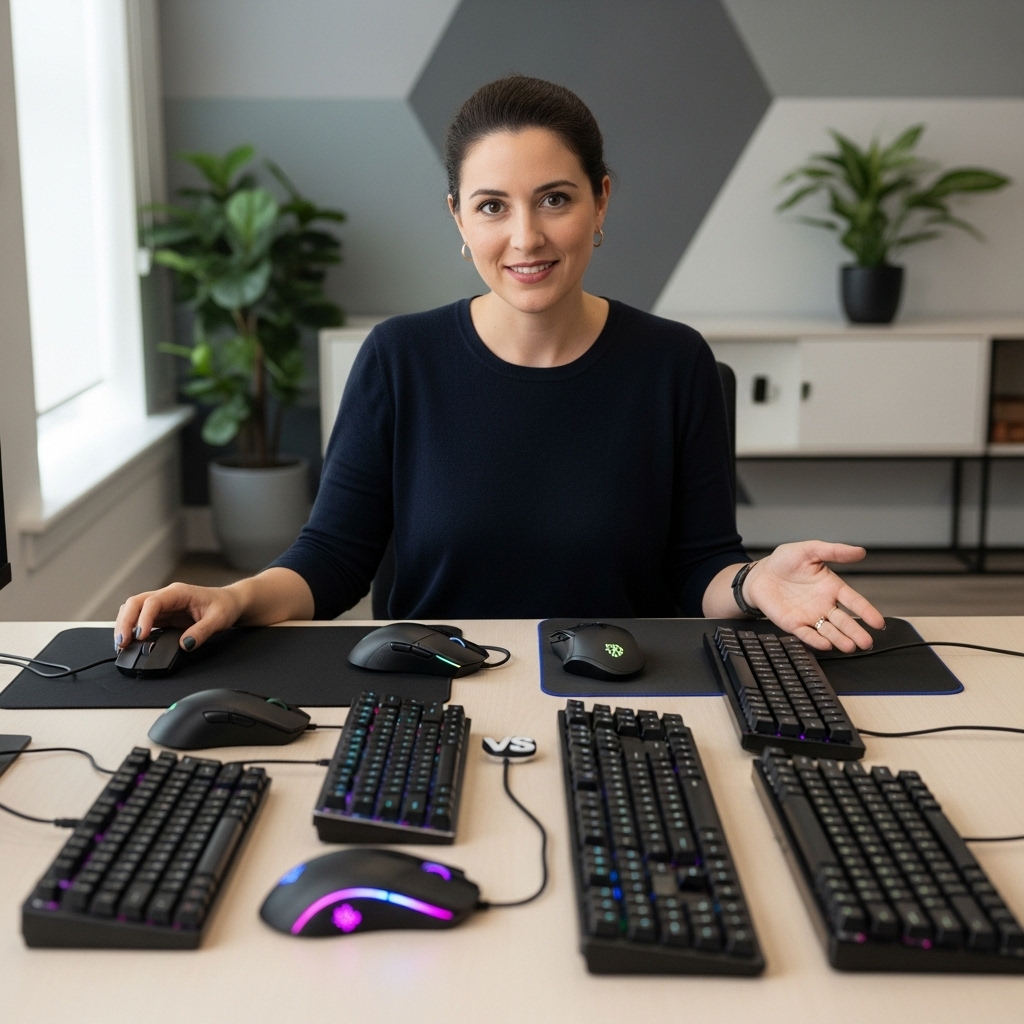

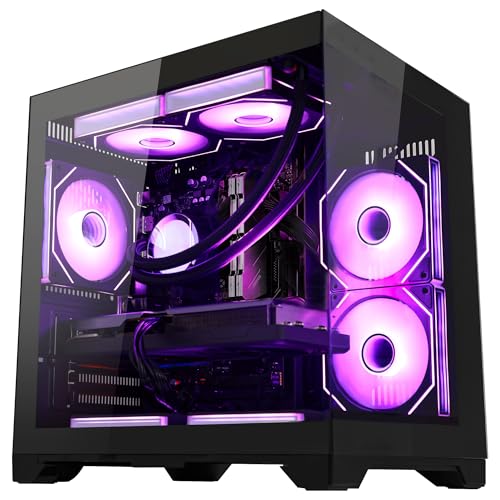
Building a custom living-room machine allows players to turn standard computer components into a dedicated entertainment hub tailored to classic titles or modern indie favorites. Anyone researching how to make a diy gaming console quickly discovers that the project bridges compact desktop architecture with streamlined, controller-friendly operating systems. Instead of settling for restrictive commercial hardware, an enthusiast can repurpose an older office desktop, configure a small-form-factor rig, or assemble fresh parts tailored to specific performance targets. Exploring budget custom gaming PC builds provides helpful perspective on how component sizing, thermal headroom, and component synergy shape a compact living-room experience.
A successful build requires balancing processing power, thermal dissipation, and simple television connectivity through modern video outputs. While assembling specialized hardware gives you complete control over software libraries and visual scaling, preconfigured options like the Kulivloa Retro Gaming Console offer an immediate alternative for players who prefer a ready-to-run setup. Understanding the hardware assembly, storage configuration, and front-end interface will help you determine whether assembling custom hardware or utilizing an integrated solution best serves your living-room gaming ambitions.

Complete Guide to Building and Configuring a DIY Gaming Console
Building a dedicated home console from computer hardware transforms standard computing components into an accessible, television-focused gaming environment. The process requires establishing a clear hardware baseline, configuring an operating system designed for direct controller navigation, and tuning display settings for living room screens. Whether your goal centers on running classic console titles from the arcade era or playing modern lightweight titles from digital PC storefronts, understanding the interplay between processing hardware and system software guarantees a stable setup. Balancing build complexity against plug-and-play simplicity will guide your decisions at every step of the configuration process.
Selecting the Right Hardware Architecture for Your Build
Hardware selection defines the performance ceiling and physical footprint of any console project. Small-form-factor desktop PCs, compact thin clients, and single-board computers represent the three most common platforms for this type of build. Repurposed office desktops often provide an outstanding balance of processing power and internal expansion without requiring extensive metal fabrication. Compact mini PCs fitted with mobile processors deliver minimal noise and clean aesthetics that blend seamlessly into home entertainment centers. Single-board alternatives offer tiny dimensions and lower electricity consumption, though they frequently struggle when emulating hardware beyond fifth-generation consoles.
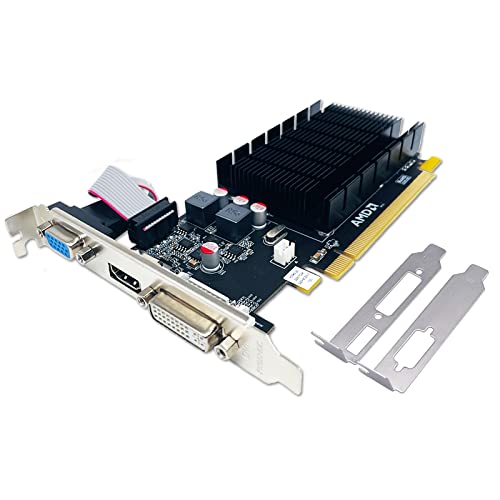
Processor architecture and graphics capabilities must match the software generations you intend to run. Older eight-bit and sixteen-bit systems operate smoothly on basic dual-core chips, but modern 3D titles and demanding sixth-generation emulators demand robust multi-core performance. System memory configuration also plays a major role in sustained frame delivery, especially when relying on integrated graphics that share system memory bandwidth. If you intend to target higher display resolutions or run modern PC titles alongside emulation, exploring dedicated graphics card selection will clarify how GPU thermal design and power draw affect compact enclosures. Dual-channel memory configurations remain essential across all integrated platforms to prevent bandwidth bottlenecks during heavy rendering scenes.
Power Delivery, Cooling, and Enclosure Considerations
Power stability is paramount when designing a machine intended to operate in enclosed entertainment centers. Standard desktop builds rely on ATX or SFX power supplies, whereas micro-consoles often utilize external power bricks that keep thermal output outside the primary chassis. Calculating your total system power draw prevents unexpected shutdowns during intensive rendering spikes or high-load emulation sequences. Quality power supplies maintain consistent voltage rails, protecting sensitive memory modules and solid-state storage from unexpected corruption during sudden power drops. Always adhere to manufacturer guidelines regarding electrical connections, and never attempt to disassemble internal power supply enclosures.
Thermal management presents unique hurdles in living room environments where equipment cabinets frequently restrict airflow. Cool air must enter the chassis freely, circulate past the processor heatsink, and exhaust out the rear or top without recirculating warmed air. Selecting larger, low-RPM cooling fans minimizes intrusive background acoustic noise while maintaining stable operating temperatures. Dust filtration is equally important, as living room carpets and prolonged entertainment center placement accelerate particulate buildup on heatsink fins. Implementing balanced fan curves within the system BIOS ensures that fans spin up predictably without creating irritating acoustic spikes during quiet game dialogue.
Choosing and Installing a Console-Style Operating System
The operating system establishes the user interface, determining whether your machine feels like a genuine gaming appliance or a standard desktop computer. Specialized Linux distributions such as Batocera, RetroPie, and Lakka boot directly into intuitive graphical front-ends designed entirely for handheld controllers. These dedicated platforms eliminate desktop distractions, background update popups, and the necessity of keeping a keyboard and mouse nearby. ChimeraOS and customized SteamOS environments provide an excellent alternative if your primary focus involves running modern PC games with a console-style controller interface. Standard Windows installations remain viable for maximum broad software compatibility, though they require configuration adjustments to suppress background desktop prompts upon boot.
Installation begins by downloading the appropriate distribution image and writing it to bootable installation media using a dependable imaging utility. Configuring the host motherboard BIOS to prioritize UEFI boot modes and disabling fast-boot options guarantees reliable recognition of your storage drives. Once the installation completes on the primary solid-state drive, the operating system formats internal storage partitions to prepare folders for game files and system configurations. Initial setup requires a wired keyboard to navigate initial network credentials and configure basic system locales. After completing the initial configuration and assigning controller profiles, the system can operate indefinitely without standard computer peripherals attached.
Storage Configuration and ROM Library Management
Storage speed and organization directly influence interface responsiveness, game loading times, and library navigation speed. Solid-state drives deliver the fastest boot times and virtually eliminate interface hitching when browsing large libraries containing thousands of title entries. Mechanical hard drives offer generous storage capacity for extensive disc-based libraries, though they produce audible vibration and increase overall power draw. High-speed micro SD cards or secondary TF cards serve as practical storage options for modular platforms, allowing rapid transfer of files between different systems. Verifying storage partition health and formatting using compatible file systems prevents corrupted save data and missing directory structures.
Managing your game library requires placing files into designated folder directories corresponding to specific console emulators. Many complex gaming systems also require proprietary system BIOS files placed in dedicated system folders before games will initialize properly. Automated scrapers can scan your titles over a home network connection, downloading promotional cover art, release metadata, and video previews to enhance the user interface. Creating periodic backups of your entire storage image guards against accidental configuration loss or unexpected card corruption. Well-structured file naming conventions prevent the scraping engine from misidentifying regional variations or alternate revisions of popular titles.
Controller Pairing, Latency, and Wireless Configurations
Input latency can ruin the experience of responsive platformers and timing-sensitive arcade titles on a home television. Bluetooth connectivity offers universal compatibility across modern gamepads, but crowded wireless environments can introduce subtle input lag or sporadic connection drops. Dedicated 2.4GHz wireless controllers that utilize custom USB receiver dongles generally deliver lower latency and immediate pairing upon system power-up. Wired USB connections remain the gold standard for zero-latency gameplay, making them an excellent choice for competitive fighting games or precision shooters. Evaluating your seating distance from the television helps determine whether standard wireless range or extended-range controllers are necessary.
Proper controller mapping ensures that buttons correspond correctly to original console layouts across multiple distinct emulator cores. Front-end software platforms allow users to assign a universal hotkey combination, enabling players to exit games, save states, or adjust volume without physical keyboard intervention. Battery management is another practical consideration, as wireless controllers require dependable rechargeable packs or standard replaceable cells. Many wireless gamepads utilize internal lithium batteries that recharge via USB, while others rely on standard AAA batteries for quick swaps during multiplayer sessions. Keeping secondary controllers charged and pre-mapped prevents awkward troubleshooting when hosting living room multiplayer gatherings.
Video Output, Resolution Scaling, and Television Display Settings
Connecting a custom computing rig to a modern flat-panel television requires careful attention to display resolutions and refresh rates. Modern televisions expect stable HDMI signals, typically outputting standard 1080p or 4K resolutions at sixty hertz. Enabling the television’s dedicated Game Mode disables heavy post-processing algorithms, dramatically reducing display input latency for a more responsive gaming feel. Using quality HDMI cables rated for your target resolution prevents video dropouts, digital noise, or intermittent black screen flickers during intense visual sequences. Confirming that your system graphics driver accurately identifies the television’s native refresh rate prevents micro-stuttering and uneven frame pacing.
Retro titles originally mastered for cathode-ray televisions require scaling adjustments to display properly on high-definition widescreen displays. Stretching a classic 4:3 image across a modern 16:9 widescreen panel distorts original character proportions and ruins visual balance. Enabling integer scaling locks the pixel multipliers to clean whole numbers, eliminating blurry pixel distortion and shimmering during horizontal scrolling. Optional shader pipelines can simulate scanlines, shadow masks, and CRT curvature, recreating the authentic visual warmth of vintage television displays. Modern retro front-ends provide customizable scaling profiles, allowing players to assign individual visual settings to specific console libraries automatically.
Diagnosing Common Startup and Display Glitches
Encountering a black screen after powering on the system represents one of the most frequent setup frustrations for new builders. Inadequate power supply capacity or loose power connections often prevent the system from completing its initial hardware handshake. If the television displays a no-signal prompt, testing an alternative HDMI port or swapping the display cable helps isolate physical connection faults. Verifying that the television is tuned to the exact input channel corresponding to the connected port resolves simple oversight errors. For compact systems operating from external power supplies, ensuring the adapter delivers proper voltage prevents the machine from entering a reboot loop during boot sequences.
Storage corruption and configuration errors can also cause system freezes during the operating system loading sequence. If the system hangs on a boot logo, the storage partition may have suffered damage from an improper system shutdown. Re-flashing the operating system image or running a storage repair utility will restore corrupted boot sectors without requiring hardware replacement. Wireless controller disconnects typically stem from local radio frequency interference near Wi-Fi routers or metal entertainment center framing. Moving external USB receiver dongles away from internal system components using short extension cables often resolves persistent wireless controller dropped inputs.
DIY Custom Builds Versus Integrated Plug-and-Play Systems
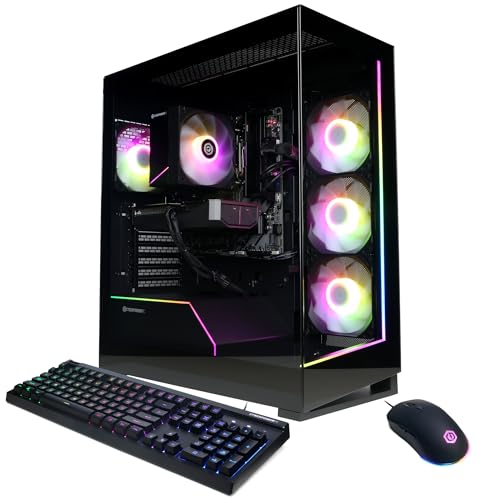
Deciding between a complete DIY build and an integrated commercial solution hinges on your personal patience, technical familiarity, and expected gaming scope. Assembling a custom console from desktop parts allows you to select high-end components, customize storage capacities, and enjoy complete control over modern emulator updates. However, sourcing individual components, configuring BIOS settings, mapping diverse controller buttons, and scraping media requires substantial setup time and technical troubleshooting. For players seeking an entry point into desktop gaming performance without custom assembly, checking an affordable prebuilt gaming desktop can provide a versatile living-room machine capable of running both modern PC titles and complex emulation platforms.
Integrated alternatives provide an entirely different value proposition centered on instant gratification and minimal configuration overhead. Products such as the Kulivloa Retro Gaming Console deliver a plug-and-play game stick format that connects directly to a television HDMI port without software installation or file downloading. With twenty-three preloaded emulators and over twenty thousand classic-era games across home console, arcade, and handheld platforms, it eliminates the need for manual library compilation. Bundled dual 2.4GHz wireless controllers allow immediate multiplayer gaming up to forty feet away right out of the packaging. While an integrated stick lacks the raw computational headroom and software upgradability of a custom PC build, its 1080p output and hassle-free operation provide an accessible solution for casual retro enthusiasts.
System Longevity, Backup Strategies, and Maintenance
Long-term reliability for any console build depends on proactive hardware maintenance and systematic software management. Dust accumulation inside compact enclosures acts as an insulating blanket, elevating component temperatures and accelerating hardware degradation. Opening the chassis periodically to clear heatsinks and fan blades with clean compressed air preserves optimal thermal performance. Verifying that cooling fan bearings spin smoothly without grinding noise prevents sudden thermal throttling during prolonged gaming sessions. Checking internal cable routing ensures that wires remain clear of spinning fan blades and do not block primary ventilation paths.
Software maintenance is equally vital for maintaining a smooth living-room gaming experience over months of regular use. Creating an exact image backup of your configured operating system and storage drive safeguards against accidental file corruption or drive failure. Storing backup image files on a home network drive or secondary external storage allows rapid restoration should a storage card fail. Keeping emulator cores updated ensures compatibility with newly discovered bug fixes and community performance optimizations. Taking these preventative steps guarantees that your living-room gaming station remains dependable, responsive, and ready for entertaining family and guests whenever inspiration strikes.
Building a dedicated living-room gaming console rewards you with a tailored entertainment station that matches your specific performance goals and aesthetic tastes. Taking time to select balanced processing hardware, quiet cooling components, and a dedicated controller-first operating system creates a seamless gaming experience for everyone in your household. If the technical demands of BIOS configuration, software flashing, and ROM organization feel overwhelming, ready-to-run alternatives offer a convenient shortcut to retro entertainment. Choose the path that matches your technical curiosity, plug your machine into the television, and enjoy the rich history of gaming from the comfort of your couch.





Write Your Review
No reviews yet. Be the first to share your experience!