
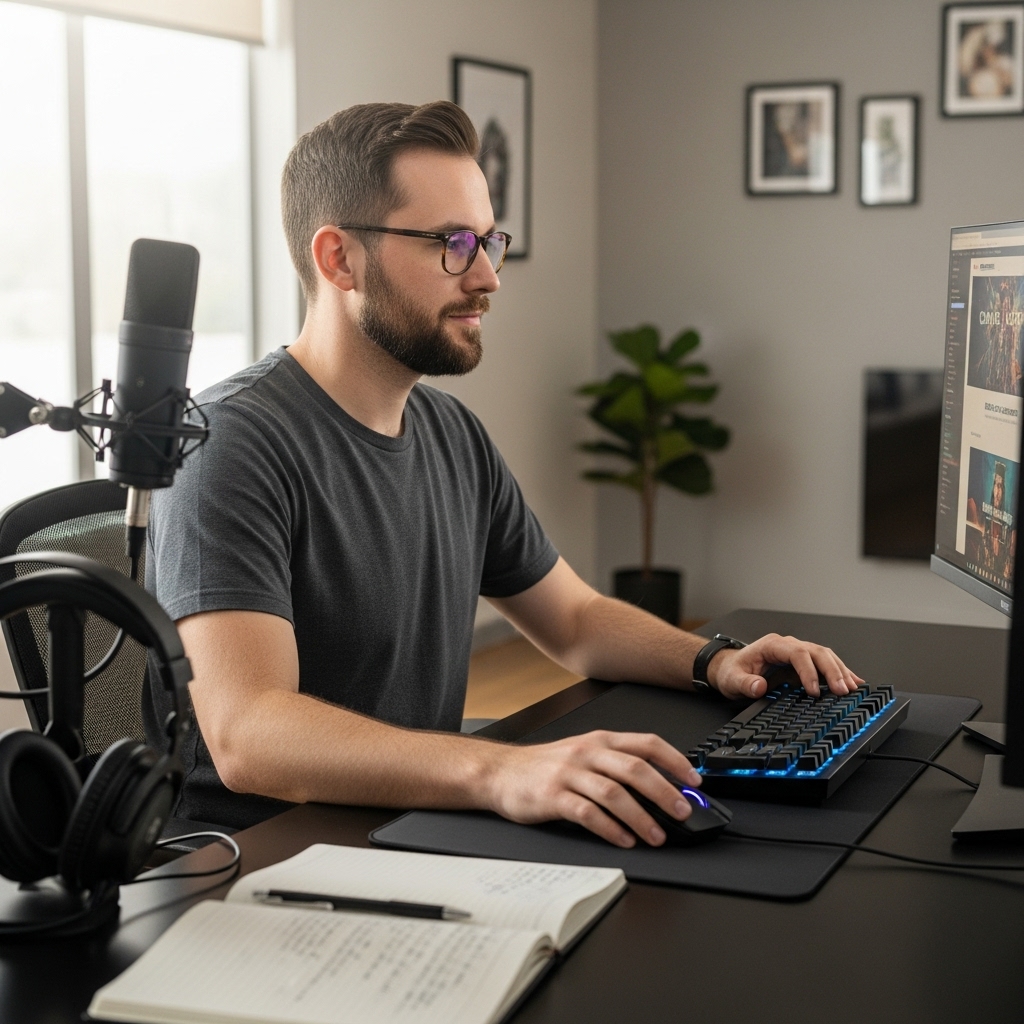

Setting up a dedicated space for desktop gaming involves far more than picking out posters or placing a desk in an empty corner. High-performance desktop computers generate heat, demand reliable power, and require organized cable pathways to function without unexpected interruptions. Anyone researching how to build a gaming room needs to prioritize computer hardware placement and room layout before focusing on cosmetic additions. A well-planned layout keeps hardware running cool and prevents circuit overloads during intensive gaming sessions.
Balancing your component budget against room essentials helps avoid common setup bottlenecks. If you are configuring a custom rig or exploring budget gaming PC builds, physical room constraints like ventilation and outlet locations dictate where your tower belongs. Acoustic management, stable desk support, and ambient room lighting complement your desktop without compromising airflow. Taking a systematic approach ensures your gaming sanctuary remains functional, comfortable, and reliable over long sessions.


Planning and Assembling a Functional Gaming Room Around Your PC
Building a space dedicated to gaming requires thoughtful coordination between computer hardware, room infrastructure, and ergonomic comfort. A high-performance desktop demands deliberate space planning to manage heat output, electrical draw, and acoustic reflection. Approaching this project systematically helps prevent common headaches such as tripped breakers, thermal throttling, and cluttered wiring. Taking the time to evaluate room dimensions and electrical layout establishes a dependable foundation for long gaming sessions.
Room Layout and Desk Placement for Desktop Airflow
The physical placement of your desk dictates how effectively your computer exhausts hot air into the room. Placing a desktop tower flush against a wall or inside an enclosed cabinet restricts intake fans and traps hot exhaust air near the chassis. Positioning the desk at least four to six inches away from the wall allows warm exhaust air to dissipate freely into the ambient room environment. This clear boundary helps maintain steady case temperatures and protects sensitive internal components from heat buildup over time.
Flooring materials also play an active role in maintaining proper computer ventilation and preventing internal dust buildup. Placing a tower directly on thick carpeting can block lower intake vents and suffocate power supply fans designed to draw cool air from beneath the chassis. Setting the computer on a solid desk surface, a rigid riser, or a hard floor mat keeps bottom vents completely unobstructed. This simple elevation also minimizes the amount of carpet fibers, pet hair, and floor dust pulled directly into internal cooling fans.
Doorways and windows introduce natural drafts, ambient temperature swings, and sunlight that affect both personal comfort and system thermals. Positioning your desk perpendicular to windows reduces direct glare across your monitors without completely blocking natural daylight. Placing your setup away from primary foot traffic pathways ensures your cables and delicate peripherals remain undisturbed during daily household movement. Careful layout planning creates a clean, functional boundary between everyday living space and your dedicated gaming zone.
Electrical Infrastructure, Circuit Load, and Power Protection
Modern gaming computers and multi-monitor configurations draw noticeable wattage from household wall outlets. Plugging an entire entertainment setup into an overloaded bedroom circuit can lead to nuisance breaker trips during demanding graphical scenes. Verifying which wall outlets share a circuit breaker helps you distribute electrical loads safely across separate lines if necessary. Heavy appliances like portable air conditioners, space heaters, or mini-fridges should ideally remain on separate circuits from your gaming rig.
Standard power strips offer basic outlet expansion, but they fail to safeguard expensive desktop hardware against sudden electrical anomalies. Voltage fluctuations, brownouts, and lightning-induced surges can compromise motherboard circuitry or corrupt active storage drives. Connecting your computer and primary display to dedicated uninterruptible power supply options provides battery backup and automated voltage regulation. This battery buffer grants you valuable minutes to save open projects and safely shut down Windows during a sudden blackout.
Wall outlet condition and grounding integrity are equally vital when assembling sensitive electronic equipment. Older homes may feature ungrounded two-prong outlets that lack a dedicated path to ground, increasing the risk of static discharge damage. Testing wall receptacles with a basic three-prong circuit tester confirms whether your outlets are properly wired and grounded before plugging in expensive hardware. Maintaining a safe electrical setup prevents subtle hardware instability and ensures consistent power delivery during extended gaming marathons.
Selecting and Sizing the Central Gaming PC
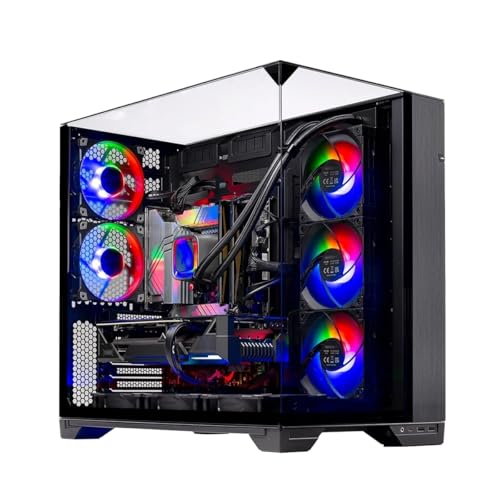
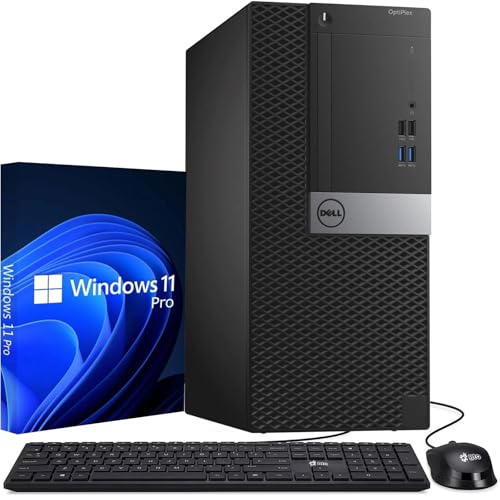
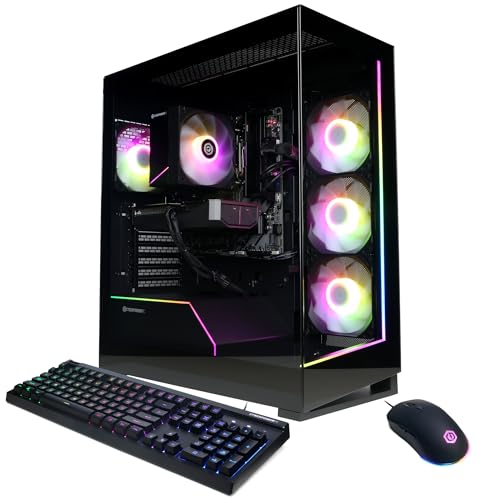
Your computer hardware serves as the functional anchor for the entire room layout and setup design. Deciding between a prebuilt system and a custom desktop build depends on your comfort with hardware assembly, component troubleshooting, and future upgrade goals. Prebuilt desktops offer out-of-the-box convenience with single-source warranty support, while custom builds allow granular control over cooling fans, case dimensions, and component balance. Either approach requires matching your system specifications to your target screen resolution and frame rate expectations.
Chassis dimensions directly dictate how much desk or floor space your build occupies. Full-tower enclosures offer generous clearance for oversized graphics cards and liquid cooling radiators, but they demand substantial surface area. Compact small-form-factor cases save valuable desk space, yet they often introduce strict component clearance limits and tighter thermal margins. Checking hardware clearance guides, such as our desktop graphics card guide, ensures that your chosen chassis accommodates modern three-slot coolers without choking off intake airflow.
Display compatibility must align with your graphics processing power to avoid mismatched performance. Pairing an entry-level graphics card with an ultra-wide high-refresh-rate monitor can result in sluggish frame rates and visual stutter. Conversely, running a high-end desktop on a basic standard-refresh panel leaves substantial hardware capability completely unused. Sizing your computer hardware and display panels in tandem prevents unnecessary expenditure and guarantees a balanced visual experience.
Cable Management Pathways and Signal Integrity
Uncontrolled wiring ruins the visual appeal of a gaming setup and creates practical hazards for both users and hardware. Loose cords dangling beneath a desk can become tangled around feet, leading to accidental disconnections or damaged motherboard ports. Routing cables through dedicated under-desk trays or raceways keeps power bricks and excess wire neatly suspended off the floor. This elevated containment simplifies vacuuming and keeps your floor area completely clear of tripping hazards.
Separating high-voltage AC power cords from sensitive low-voltage data cables helps preserve clean audio and video signals. Running unshielded microphone or headphone cables parallel to thick power cords can induce electromagnetic hum into your audio feed. Bundling power cables on one side of your desk frame and data cables on the opposing side minimizes signal interference. Hook-and-loop straps provide an adaptable bundling solution that can be opened easily whenever you reconfigure hardware.
Allowing sufficient slack at connection points prevents mechanical strain on delicate computer ports and display inputs. Cords pulled taut around sharp metal desk corners can suffer internal wire fraying over time, causing intermittent screen flickering or device disconnects. Leaving gentle service loops near monitor arms and desktop back panels accommodates full monitor articulation without tugging on ports. Clean cable routing also promotes unobstructed air circulation behind your computer case exhaust fans.
Ambient Temperature Control and Room Ventilation
A gaming desktop running intensive workloads acts essentially like a space heater by radiating wattage directly into the surrounding room. Closed doors and small room dimensions accelerate ambient heat accumulation, causing the room temperature to climb steadily during long play sessions. As ambient room temperatures rise, computer cooling fans must spin faster and louder to keep internal components within safe thermal limits. Managing room climate is therefore just as critical as selecting capable computer cooling hardware.
Promoting continuous air exchange helps exhaust warm air before it elevates room temperatures to uncomfortable levels. Keeping the room door slightly ajar or operating an oscillating room fan creates gentle air movement that disperses localized heat pockets. In warmer climates, ensuring your room has adequate supply from central air conditioning or an appropriately sized window unit keeps ambient air cool. Maintaining an ambient room temperature around seventy degrees Fahrenheit allows computer heat sinks to shed heat efficiently.
Dust management directly impacts both room cleanliness and computer cooling performance over time. Airborne dust settled on intake dust filters restricts airflow, forcing computer fans to work harder and generate more acoustic noise. Installing washable mesh filters over computer chassis intake ports traps dust before it coats internal heat sink fins. Wiping down room surfaces regularly and vacuuming carpets with a sealed filter vacuum reduces airborne particles before they reach your desktop.
Ergonomics, Monitor Positioning, and Acoustic Treatment
Physical comfort directly influences how long you can enjoy your gaming space without experiencing physical fatigue or strain. A sturdy desk with adequate depth allows you to rest your forearms comfortably while keeping keyboards and mice at a natural elbow angle. Pairing the desk with an adjustable ergonomic chair supports the natural curvature of your spine during lengthy gaming sessions. Investing in proper physical support reduces neck stiffness and repetitive strain across your wrists.
Monitor elevation and viewing distance dictate your posture and eye comfort throughout the day. The top third of your display panel should align roughly with eye level when sitting upright, preventing chronic neck tilting. Maintaining an arm-length viewing distance helps reduce digital eye strain while keeping the entire screen within your natural field of view. Dual-monitor configurations benefit from dedicated monitor arms that free up valuable desk surface area beneath the screens.
Bare walls and hardwood floors reflect sound waves, creating sharp flutter echoes that muddy voice chat and audio cues. Adding soft furnishings, such as an area rug, heavy window curtains, or fabric acoustic wall panels, absorbs high-frequency sound reflections. This acoustic dampening prevents your microphone from capturing hollow room reverberation when communicating with teammates or recording commentary. Controlled room acoustics make game audio crisper and create a noticeably quieter, more immersive environment.
Aesthetic Theming and Wall Decor Integration
Visual theming transforms a collection of electronics into a cohesive, personalized space that reflects your passion for gaming. Incorporating themed elements like the vinyl 3D Game Room Decor Gaming Room Wall Decals introduces vibrant neon-style imagery and controller graphics without damaging wall paint. Self-adhesive vinyl stickers allow you to decorate smooth drywall, doors, or furniture with bold wall-break designs that capture an authentic arcade atmosphere. Because these decals peel away without leaving gummy adhesive residue, they offer a flexible decor solution for bedrooms and rental spaces alike.
Lighting design shapes the mood of your room while also serving a practical ergonomic purpose. Installing bias lighting behind your computer monitor illuminates the wall behind the screen, softening the harsh contrast between bright displays and dark surroundings. This subtle halo reduces eye strain during evening sessions without creating distracting reflections across the monitor surface. Diffused LED light strips mounted along desk edges or shelves provide ambient room glow that avoids direct glare.
Balancing decorative elements against functional workspace prevents your room from feeling overcrowded or chaotic. Displaying gaming books, such as the Build Your Ultimate Gaming Setup guide, alongside collectible figures on floating wall shelves keeps desk surfaces clear for mouse movement. Coordinated color palettes across wall decals, peripheral lighting, and furniture finishes tie the entire room together into a unified theme. Thoughtful decorative choices celebrate your gaming hobby while keeping your core workspace organized and productive.
Step-by-Step Setup Sequence and Final Verification
Executing your room build in a logical sequence prevents redundant labor and protects delicate electronics from accidental damage. Begin with an entirely cleared room so you can clean floors, apply wall decals, and assemble desks without maneuvering around fragile computer towers. Positioning your furniture and routing main power extension cords should always precede unpacking sensitive monitors and computer components. This disciplined staging keeps your assembly space tidy and minimizes the risk of dropping tools onto bare circuit boards.
Once furniture and base electrical paths are established, install your central desktop PC and connect display cabling. Power on the system to verify display signal, operating system stability, and proper fan operation before fastening permanent cable ties beneath the desk. Checking Windows device manager ensures all internal hardware components and peripheral drivers are recognized without system errors. Taking a few moments to confirm hardware functionality before final cable bundling saves significant time if a component cable requires reseating.
The final stage involves testing room thermals and ergonomics under an actual gaming workload. Run a demanding game or benchmark utility for thirty minutes while observing internal hardware temperatures and room heat buildup. Verify that desk height feels natural, chair armrests provide adequate support, and monitor angles eliminate unwanted glare. Completing these final checks confirms that your room layout, electrical protection, and cooling pathways work together to support a comfortable, game-ready environment.
Creating an effective gaming room requires balancing raw computer power with deliberate room organization, stable electrical delivery, and ergonomic comfort. Prioritizing case airflow and clean cable pathways keeps your desktop running cool, while acoustic treatment and thoughtful visual decor personalize your environment. By planning your physical space around the practical needs of your PC hardware, you ensure that your gaming setup remains dependable, comfortable, and ready for whatever games you play next.





Write Your Review
No reviews yet. Be the first to share your experience!