
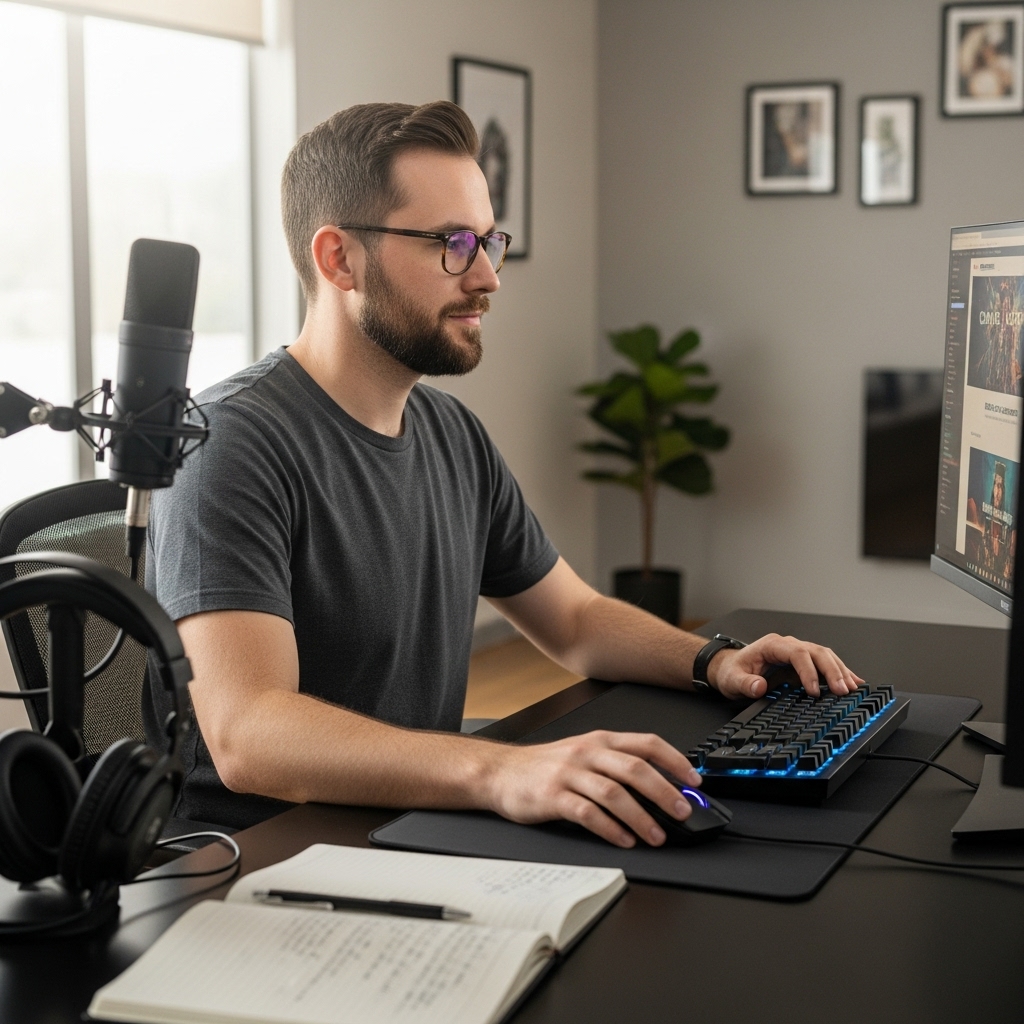

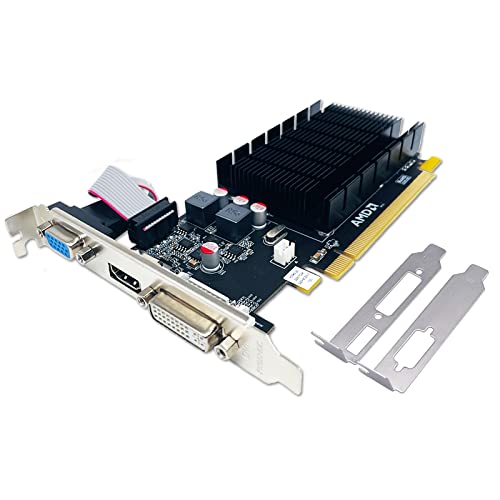
Producing high-quality gameplay content requires balancing gaming performance with background video capture. Many new creators struggle when their recording software introduces stutter or ruins in-game frame rates. Learning how to record gaming videos for youtube begins with understanding how your processor and graphics card split rendering tasks during demanding sessions. Investing in capable dedicated gaming graphics cards makes a significant difference because modern silicon features integrated hardware encoders designed to offload video compression.
Software configuration also determines whether your footage looks crisp or turns into a pixelated mess during fast motion. A proper setup preserves system responsiveness while capturing clean video and distinct audio tracks for editing. Beyond technical settings, building a channel involves organizing your workflow, structuring compelling gameplay commentary, and packaging your videos effectively. This guide breaks down the essential hardware considerations, software options, and recording methods you need to publish polished gaming videos.


Complete Technical and Practical Guide to Recording Gaming Videos
Capturing gameplay footage on a desktop computer involves coordinating hardware resources, capture software, and storage drives without compromising playable performance. When you understand how video encoding interacts with your operating system, producing smooth YouTube videos becomes a predictable process. A successful setup lets you play at your desired resolution while writing high-bitrate files directly to disk. The following sections walk through hardware requirements, software adjustments, audio separation, and workflow strategies to help you get reliable results.
Balancing PC Hardware for Simultaneous Gaming and Recording
Running a modern game places intense demands on both the central processor and graphics card. When you add real-time video recording to that workload, your computer must compress thousands of visual frames every minute. If your hardware lacks sufficient headroom, the recording software will drop frames or cause noticeable input lag inside the game. Establishing a stable capture environment begins with recognizing which components handle encoding and which manage game logic.
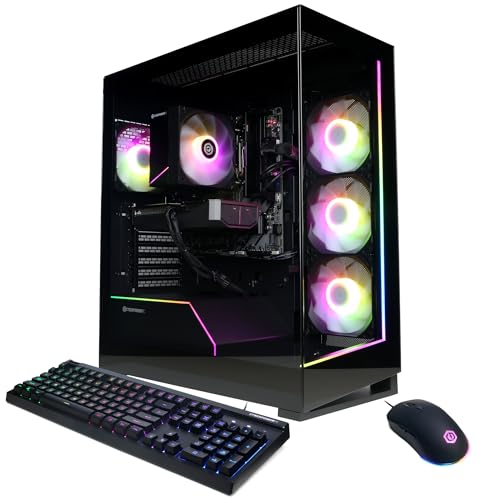
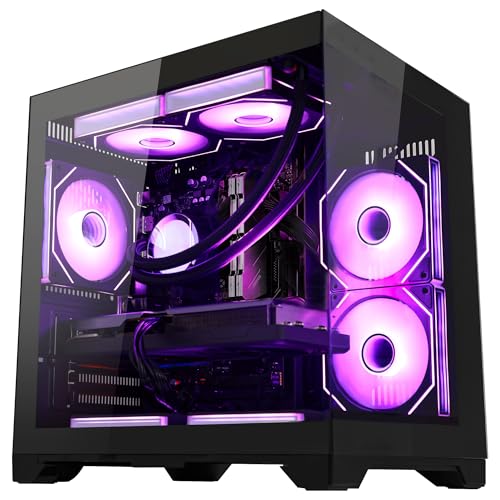
Hardware encoders integrated into modern graphics cards have transformed local video capture. Dedicated media engines on the GPU compress video streams independently from the 3D rendering cores, preventing severe performance dips. Software encoding on the processor remains an option, but it requires substantial core counts and can lead to thermal throttling on compact cooling solutions. Choosing balanced gaming PC build choices helps ensure your processor and graphics card maintain adequate processing overhead during intense gaming sessions.
System memory and drive speed also play pivotal roles in recording stability. While sixteen gigabytes of system memory suffices for many standalone titles, running recording utilities, audio filters, and multiple browser tabs simultaneously often pushes memory consumption higher. Solid-state drives using the NVMe protocol provide the sustained write speeds needed for recording uncompressed or visually lossless video streams. Mechanical hard drives can struggle when writing large continuous video files alongside active game assets, which leads to buffered frames being dropped.
Power stability is another practical consideration that content creators frequently overlook during long recording sessions. Sudden voltage fluctuations or momentary power drops can crash your operating system, causing unfinalized video files to corrupt instantly. Installing battery backup units for desktop setups protects your work by providing reliable power filtering and continuous uptime during unexpected disruptions. Taking these hardware precautions creates a dependable foundation before you ever launch your capture software.
Selecting and Configuring Your Recording Software
Creators have access to several capable software solutions for capturing PC gameplay. Open Broadcaster Software, commonly known as OBS Studio, serves as the industry standard due to its deep customization, multi-source compositing, and active community support. GPU-specific utilities, such as AMD Software or NVIDIA app recording features, offer lightweight alternatives that require minimal setup. Windows Game Bar provides an accessible, built-in option, though it lacks the advanced scene controls and audio separation features required for serious production.
Configuring OBS Studio correctly is essential for achieving smooth recordings without unnecessary system overhead. Begin by setting the base canvas resolution to match your primary gaming monitor, ensuring your visual assets align properly. For your output resolution, consider whether you intend to upload at native resolution or downscale to standard ten-eighty-p. Downscaling can conserve storage space and encoding resources, but native capture preserves finer in-game text and subtle visual textures.
Framerate targets should reflect the type of gameplay you plan to share on YouTube. Fast-paced shooters, racing simulators, and competitive titles benefit immensely from recording at sixty frames per second to preserve visual fluidity. Slower strategy titles or retro role-playing games can often be captured at thirty frames per second without losing noticeable presentation quality. Aligning your capture frame rate with an even divisor of your monitor refresh rate also helps prevent micro-stutter in the resulting video file.
Scene composition is another advantage of using dedicated capture software like OBS Studio. You can establish separate scenes for full-screen gameplay, intermission breaks, or picture-in-picture webcam layouts. Utilizing Game Capture mode rather than Display Capture yields better performance and prevents accidental recording of private desktop notifications or background windows. Always test your scene transitions while the game runs in borderless windowed or exclusive fullscreen mode to confirm proper capture hooks.
Mastering Video Bitrate and Rate Control Methods
Bitrate determines the volume of data your system writes per second of recorded video. Setting your bitrate too low results in macroblocking, color banding, and muddy textures during high-motion gameplay sequences. Conversely, pushing the bitrate excessively high consumes storage rapidly without delivering noticeable visual improvement on YouTube after platform re-encoding. Finding the correct rate control mode is critical for balancing visual quality and file sizes.
For local recording, Constant Quality, commonly designated as CQP or CRF, is superior to Constant Bitrate methods. Constant Bitrate forces the encoder to write a fixed amount of data regardless of scene complexity, which wastes drive space during static menus and starves complex explosions of needed data. Constant Quality adjusts the data rate dynamically to preserve consistent visual fidelity throughout the clip. A CQP target level between eighteen and twenty-three provides an excellent compromise between visual clarity and file footprint.
If your recording software defaults to Constant Bitrate, aim for targets appropriate to your resolution. Capturing ten-eighty-p gameplay at sixty frames per second generally requires a bitrate between twelve thousand and twenty thousand kilobits per second. Capturing fourteen-forty-p or four-k footage demands significantly higher bandwidth, often between thirty thousand and sixty thousand kilobits per second. Testing short test clips during frantic combat scenarios allows you to visually inspect the output before committing to long recording sessions.
Selecting the correct encoding preset also impacts encoder stability. Presets control how deeply the encoder analyzes frame differences to compress data. Slower or higher-quality presets demand more processing time, which can trigger encoder lag on busy systems. Selecting a balanced or performance-oriented preset on your graphics card media engine typically yields nearly identical visual fidelity while leaving plenty of processing headroom for unexpected visual spikes.
Isolating Audio Tracks for Independent Post-Production Mixing
Poor audio ruins viewer retention faster than sub-optimal video quality. When you capture your microphone commentary, game sound effects, and voice communication software into a single combined audio track, fixing balance issues in post-production becomes impossible. If the game audio spikes and drowns out your voice, you cannot adjust individual volumes without affecting the entire recording. Setting up multi-track audio recording solves this dilemma permanently.
Modern capture software allows you to assign specific audio inputs to independent tracks within a single video file. You can assign your game audio to track one, your external microphone to track two, and voice chat applications to track three. When you import the recorded file into your video editing software, each stream appears on its own timeline layer. This separation enables precise equalizing, noise reduction, and level adjustments without degrading the surrounding sounds.
Microphone placement and input gain configuration require deliberate adjustment before you press record. Position your microphone roughly four to six inches from your mouth and use a pop filter to disperse vocal plosives. Set your input gain so your speaking voice peaks between minus twelve and minus six decibels on your software audio meter. Leaving this headroom prevents digital clipping and distortion when you react loudly during exciting gaming moments.
Applying digital filters within your recording software can refine your vocal tone before it hits the drive. A subtle noise suppression filter eliminates persistent computer fan hum or mechanical keyboard clicks. A gentle compressor smooths out volume disparities between quiet speech and sudden shouts. Finally, a limiter placed at minus two decibels acts as a safety ceiling to prevent any accidental audio clipping from reaching the final recording track.
Storage Protocols, Container Formats, and File Preservation
The container format you choose dictates how safely your recording writes to your storage drive. Many beginners instinctively select MP4 because it offers broad playback compatibility across consumer media players and editing suites. However, the MP4 container requires a finalized header block at the very end of the recording file to remain readable. If your game crashes, your PC loses power, or your recording software hangs before closing, the entire MP4 file becomes completely unreadable.
Using Matroska Video, designated as MKV, protects your footage from catastrophic file corruption. The MKV container writes video packets progressively, meaning every second captured up to a sudden crash remains intact and fully functional. Advanced recording software includes an automated remux feature that quickly repackages your finalized MKV recordings into standard MP4 files in seconds. This practice gives you the rock-solid safety of MKV capture alongside the broad compatibility of MP4 in your editing program.
Managing disk space requires establishing a disciplined folder structure and regular archiving habits. Recording high-bitrate video generates tens of gigabytes of data every single hour. Dedicate a secondary solid-state drive exclusively to capture files rather than saving them to your primary operating system partition. Separating recording traffic from Windows disk operations avoids background drive contention that can interrupt smooth video streaming.
Formulating an organized file naming convention saves valuable time during the editing phase. Configure your capture software to automatically append the date, time, and game title to each generated file. Once your recording session finishes, review the footage immediately to verify that audio tracks and video streams captured as expected. Deleting botched takes and failed attempts promptly keeps your solid-state drives running within their optimal storage limits.
Diagnosing Common Recording Glitches and Performance Issues
Even well-configured systems can experience dropped frames or video stutter if unexpected bottlenecks arise. Software logs typically categorize recording issues into rendering lag, encoding lag, or capture interference. Rendering lag occurs when your graphics card is so saturated running the game that it cannot allocate frames to the capture scene compositor. You can resolve this issue by capping your in-game frame rate to match your monitor refresh rate, freeing up necessary GPU cycles for the recording pipeline.
Encoding lag indicates that your chosen encoder cannot compress incoming frames fast enough to keep pace with real-time video. If your software reports skipped frames due to encoding overload, step down your encoder preset or slightly lower your output resolution. Verify that no other background application is utilizing your hardware media engine simultaneously. Updating your graphics card drivers to the latest stable release also ensures access to recent encoder performance patches and bug fixes.
Black screen capture is another common frustration among PC gamers recording modern titles. This problem frequently arises when conflicting capture hooks try to access the graphics API at the same time. Third-party overlay utilities, antivirus gaming modes, or hardware monitoring programs can block OBS Studio from hooking into the game window. Running your capture software with administrator privileges and disabling unnecessary background overlays generally resolves game hook conflicts promptly.
Screen tearing in recorded videos occurs when the game frame rate falls out of synchronization with the capture refresh rate. Enabling vertical synchronization or using an internal frame rate limiter keeps the rendering cadence steady. Additionally, turning on Game Mode within Windows helps prioritize processor scheduling for the active game and your recording process. Testing these adjustments during a quick practice round ensures your actual session remains clean and artifact-free.
Developing an Engaging Content Strategy for YouTube Gaming
Capturing technical perfection represents only one half of building a successful gaming presence on YouTube. Viewers watch gaming channels for unique personality, expert gameplay insights, entertaining commentary, or structured game critique. Instructional creator literature emphasizes defining your specific niche, whether you focus on competitive esports coverage, detailed walkthroughs, or satirical review shows. Understanding the storytelling structure behind popular videos helps transform raw recorded footage into engaging content that attracts subscribers.
Editing raw gameplay requires trimming away tedious backtracking and repetitive inventory management. Pacing keeps audiences engaged, so focus your video timeline on critical story beats, tense firefights, and humorous commentary. Incorporating subtle background music tracks can fill conversational pauses without drowning out in-game dialogue. Studying established gaming publications and guides provides valuable perspective on how to structure video pacing, write engaging scripts, and present balanced opinions.
Packaging your uploaded videos with eye-catching thumbnails and descriptive titles is crucial for organic reach. Your video title should communicate the specific challenge, achievement, or review verdict clearly without resorting to deceptive clickbait. Designing clean, high-contrast thumbnails with clear focal points helps your uploads stand out in crowded recommendation feeds. Consistency in uploading schedules and genuine interaction in the comment section build lasting community loyalty over time.
Mastering your recording workflow requires aligning your PC hardware, dialing in encoder settings, and maintaining clear audio separation. Start with sensible baseline configurations in your capture software and verify that your system maintains healthy resource headroom during intensive gaming. Once your technical capture runs reliably without dropped frames or audio distortions, you can direct all your energy toward creating entertaining gameplay and refining your channel strategy. Review your system parameters, run a short test recording before every major gaming session, and enjoy sharing your gaming experiences with the world.





Write Your Review
No reviews yet. Be the first to share your experience!