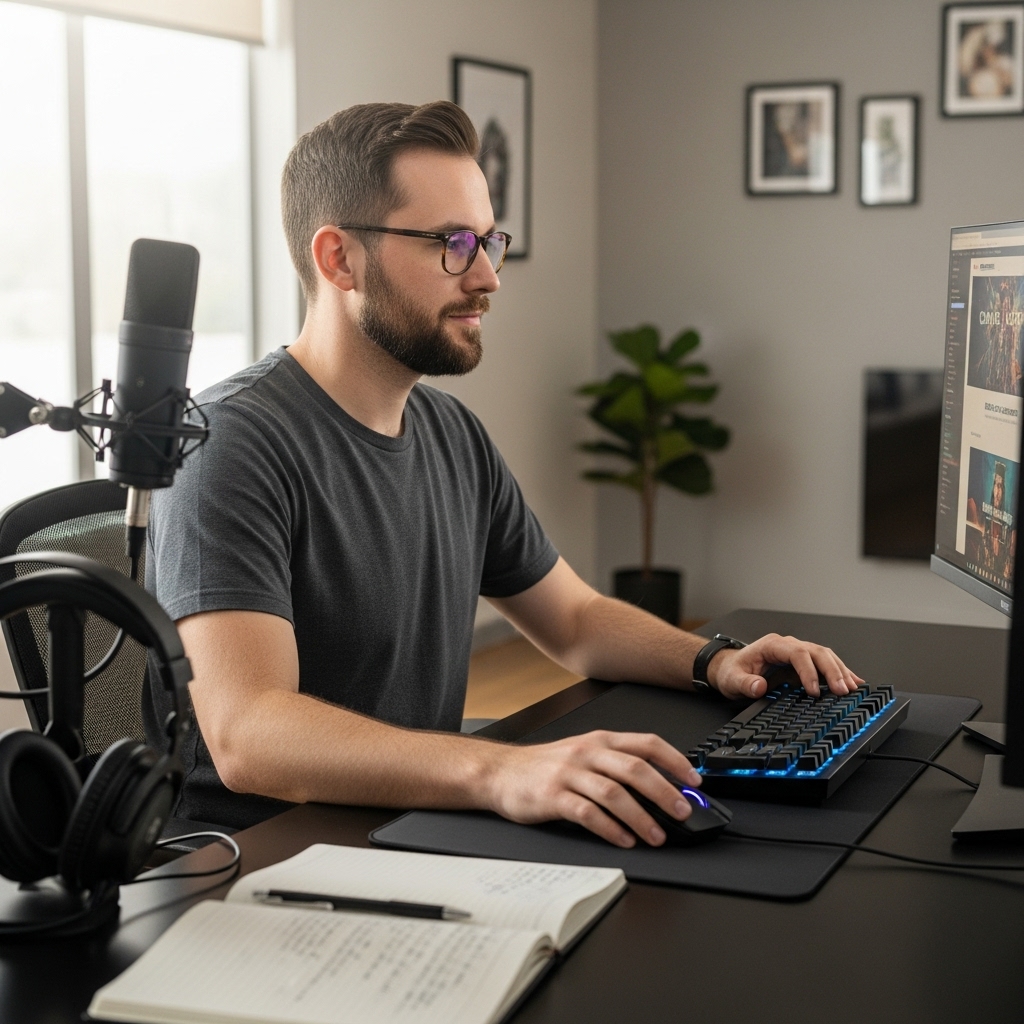

Capturing a clear desktop image on a personal computer should be quick, reliable, and unobtrusive. Knowing how to take a screenshot on pc allows players to document achievements, share game settings, and troubleshoot hardware glitches without interrupting their workflow. Operating system tools and dedicated software utilities provide multiple ways to capture clear stills directly from your monitor.
Different gaming setups and display configurations can change how capture shortcuts behave on your desktop. Understanding how your operating system coordinates with your graphics card capabilities helps avoid washed-out colors or unresponsive key combinations. Whether you rely on built-in Windows shortcuts or background driver overlays, selecting the right method keeps your system responsive while preserving image fidelity.

Capturing High-Quality Screenshots Across Desktop and Gaming Environments
Taking high-quality screenshots on a personal computer requires matching the right capture tool to your current software environment. Whether documenting system diagnostics, saving a software receipt, or freezing a fast-paced gaming moment, Windows provides multiple built-in utilities alongside hardware-accelerated capture options. Learning how to take a screenshot on pc effectively means understanding how desktop shortcuts, overlays, and graphics drivers interact with your active display.
Standard Windows Shortcuts and Clipboard Workflows
The simplest way to capture your desktop is through the traditional Print Screen key, often labeled as PrtScn on standard keyboards. Pressing this single key copies an image of your entire monitor display directly to the Windows virtual clipboard. You can then paste the stored image into an editing application or document using the standard Ctrl and V shortcut. This method works well for static desktop tasks, but it requires manual saving before another clipboard action overwrites the temporary file.
If you work with multiple monitors or only need an image of an active dialog box, the Alt and Print Screen combination offers a targeted alternative. Pressing Alt alongside PrtScn isolates whichever window is currently active, ignoring secondary displays and the desktop taskbar. This reduces the need for manual cropping when sharing troubleshooting windows or specific software panels. The resulting image also rests in the system clipboard, ready for immediate insertion into messaging tools or image editing software.
For situations where you want to archive an image immediately without opening an editor, the Windows key and Print Screen shortcut automates the entire process. When you trigger this combination, your display briefly dims to confirm the capture. Windows creates an uncompressed PNG file and places it directly into a dedicated folder inside your user profile. This eliminates secondary steps, making it an efficient choice when taking successive captures of desktop applications.
Using the Windows Snipping Tool for Precision Area Grabs
Modern Windows operating systems include an integrated Snipping Tool accessible with the keyboard combination Windows key, Shift, and S. Activating this shortcut instantly freezes your display and brings up a small toolbar at the top of your screen. From this interface, you can choose between a rectangular snip, a freeform selection, a specific window grab, or a complete full-screen still. The selected region copies automatically to your clipboard while opening a desktop notification for fast editing.
Clicking the notification launches the full Snipping Tool interface where you can crop boundaries, highlight text, or add annotations. This utility also supports timed captures, which are especially helpful for documenting dropdown menus that disappear upon losing focus. Setting a short three-second or five-second delay allows you to open complex interface menus before the capture freezes the frame. The tool saves annotated images in standard raster formats such as PNG or JPEG without degrading visual sharpness.
Recent operating system updates have added optical character recognition directly into the Snipping Tool environment. This allows users to extract editable text from an image capture without retyping code snippets, error codes, or URLs manually. For technical troubleshooting, copying text straight from an error banner saves valuable diagnostic time. The tool handles these operations locally, ensuring privacy and fast responsiveness across various desktop hardware configurations.
Capturing Full-Screen Games with the Xbox Game Bar
Standard desktop shortcuts sometimes fail when running games in exclusive full-screen mode because the rendering pipeline bypasses standard window managers. Windows includes the Xbox Game Bar specifically to bridge this gap across modern gaming environments. Pressing the Windows key and G opens the overlay, exposing audio sliders, system utilization meters, and a dedicated capture module. You can also trigger an instant still without opening the full overlay by pressing Windows key, Alt, and Print Screen simultaneously.
Game Bar integrates directly with the graphics pipeline, allowing it to capture frames without forcing games into minimized states. When you take a snapshot, a visual banner confirms that the image was archived to the default captures folder. This overlay runs as a low-priority background process, preserving frame timing during heavy gaming loads. Players who prefer tactile feedback can map capture commands to dedicated keyboard shortcuts to avoid awkward key stretching during active matches.
The utility also includes quick sharing features that connect to social platforms and player communities. While these features are convenient, keeping background widgets minimal prevents unnecessary memory usage. Users can customize which Game Bar modules stay pinned to ensure the overlay remains light. The capture module remains reliable across both modern titles and older software running through emulation layers.
Driver-Level Capture Using Graphics Card Software
Dedicated graphics processors from major hardware vendors offer proprietary software suites that feature integrated screen capture utilities. For systems equipped with Nvidia hardware, the companion desktop application provides an overlay activated by pressing Alt and Z. From there, pressing Alt and F1 grabs an instantaneous screenshot directly from the frame buffer. Advanced titles supporting special camera hooks also permit free-camera captures, high-resolution upscaling, and post-process color filters.
Systems powered by AMD graphics cards utilize the Adrenalin software suite to accomplish similar driver-level captures. The default key combination of Ctrl, Shift, and I captures an immediate still image without causing frame hitching or desktop freezing. Because these tools operate within the display driver architecture, they handle complex anti-aliasing techniques and custom resolutions with precision. They also allow users to select custom output folders and set image compression quality levels to match individual preferences.
Using driver-level capture tools provides a distinct advantage over generic software when dealing with strict anti-cheat software. Some multiplayer competitive titles block third-party overlay injectors to prevent unfair advantages, which can disable secondary capture programs. Driver software developed by the hardware manufacturer is typically whitelisted, ensuring that your capture commands register reliably. This makes driver utilities one of the most robust choices for archiving high-intensity gaming sessions.
Managing High Dynamic Range and Color Calibration Issues
High Dynamic Range displays offer deeper contrast and expanded color gamuts, but they introduce unique hurdles when taking screenshots. Traditional desktop tools capture images in standard dynamic range color spaces, which often results in severely overexposed, washed-out images when HDR is active. Highlights may appear completely white, and vibrant game scenes can lose their defined shadow detail. Understanding how different capture tools interpret HDR data is essential for preserving visual accuracy.
Windows Game Bar manages HDR captures by generating two distinct image files when saving in compatible environments. It outputs a tone-mapped PNG file designed for standard viewing along with a raw JXR file that preserves wide color data. Viewing the JXR file on an HDR-capable monitor reproduces the exact luminance and contrast levels experienced during gameplay. For sharing across regular web platforms, the tone-mapped PNG provides balanced exposure without requiring manual correction in photo editing software.
Users can also refine their image captures by adjusting the SDR content brightness slider found inside the Windows display settings menu. This setting determines how non-HDR desktop elements are balanced against peak brightness targets on your monitor. Properly calibrating this slider prevents desktop text and application windows from appearing dim or muddy in captures. Taking a few test captures after making display adjustments ensures your saved stills match what your eyes see on screen.
Troubleshooting Black Screens and Capture Failures
One of the most frequent frustrations when taking screenshots is ending up with a solid black box instead of the intended content. This issue commonly occurs when trying to capture media streaming applications that enforce hardware-level digital rights management. Web browsers and dedicated video players use encrypted video paths that deliberately mask protected video streams from capture buffers. Disabling hardware acceleration inside browser settings can resolve this behavior, though it may shift additional processing load onto your central processor.
Exclusive full-screen modes in older games can also trigger blank captures when using the standard Print Screen key. Because the game takes complete control of the graphics hardware, the desktop window manager stops updating background buffers. Switching your game display setting from Exclusive Fullscreen to Borderless Windowed mode often solves this problem instantly. Borderless mode keeps the desktop compositor active, allowing standard Windows shortcuts and snipping utilities to capture the frame accurately.
Outdated graphics drivers can also cause capture utilities to fail intermittently during intensive rendering tasks. Display drivers coordinate directly with capture overlays to read active frame buffers without degrading system stability. If capture shortcuts stop responding after an operating system update, performing a clean installation of current display drivers can restore functionality. Checking that background capture permissions remain enabled in Windows privacy settings also prevents unexpected software lockouts.
Steam Client Capture Tools and In-Game Library Management
For games launched through the Steam platform, the built-in client overlay provides an independent and dependable screenshot utility. Pressing the F12 key by default records an in-game snapshot accompanied by a subtle audio cue. Steam stores these images locally while categorizing them by title inside your personal client library. This automated organization simplifies the process of reviewing moments across long gaming sessions without manually sorting loose desktop files.
Steam provides an advanced setting that saves an uncompressed copy of every screenshot alongside the standard compressed file. Standard captures are saved as lightweight JPEGs, which balance image quality with small file sizes for quick online uploads. Enabling uncompressed copies saves high-fidelity PNG files that retain fine geometric details, sharp interface text, and subtle textures. This is especially valuable for virtual photographers who intend to edit game stills or use them as desktop backgrounds.
You can change the default screenshot hotkey inside the in-game settings tab if F12 interferes with game commands. Many simulator titles and role-playing games use function keys for quick-saving or opening internal menus. Remapping the capture command to an unused key prevents accidental menu popups during crucial gameplay sequences. Steam also allows users to disable the capture notification banner if it breaks visual immersion during cinematic scenes.
Storage Organization and Preserving System Drive Health
Frequent screen captures can accumulate rapidly, consuming valuable storage on your primary operating system drive. High-resolution captures taken at 1440p or 4K resolutions produce substantial file sizes, especially when uncompressed formats are enabled. In budget gaming desktop configurations where high-speed boot solid-state storage may be limited, redirecting capture directories to a secondary drive preserves critical operating space. This prevents your primary storage volume from filling up and slowing down essential background tasks.
Relocating your default captures folder in Windows is a simple process that does not break system shortcuts. By opening the properties menu of the Captures or Screenshots directory, you can select the location tab and define a new folder path on another drive. Windows automatically moves existing files and routes all subsequent captures to the designated storage partition. This maintains clean folder structures without requiring manual file transfers after each gaming session.
Establishing regular file maintenance routines helps keep your screenshot archive manageable over time. Deleting duplicate images, discarding accidental keystroke grabs, and converting large uncompressed archives into compressed formats frees up gigabytes of drive space. Cloud backup solutions can also synchronize your captures folder, protecting memorable gaming milestones from unexpected drive failures. Keeping local folders organized ensures your operating system navigates and indexes image directories quickly.
Preventing Input Latency and Background Resource Spikes
Running multiple overlay capture tools simultaneously can introduce background processing overhead that impacts competitive gaming performance. Applications such as Discord, Steam, Game Bar, and graphics driver suites each maintain separate hooks into the active graphics pipeline. If several programs attempt to capture the screen or buffer background video at the same time, micro-stutters and input lag can occur. Disabling background recording features in utilities you do not use keeps processor cycles focused on rendering game frames.
Configuring a single primary capture tool prevents keyboard shortcut conflicts that might trigger unintended actions. For example, assigning the same key combination to both a communication overlay and a screen grab tool can cause interface flickering or dropped frames. Taking time to audit your software key bindings ensures that each utility operates independently. Clean key assignments lead to reliable capture execution without interrupting your gaming rhythm.
Monitoring background memory usage helps ensure that overlay utilities do not consume excessive system resources during extended sessions. While individual screenshot commands require minimal memory, background services that track game statistics and prepare instant replays consume ongoing system bandwidth. Keeping only essential capture modules active ensures that your hardware maintains stable frame rates across demanding titles. A streamlined software profile delivers responsive controls and consistent image quality whenever you capture a still.
Selecting the right capture method depends on whether you are working with static desktop applications or demanding full-screen games. Built-in Windows shortcuts provide instant access for basic documentation, while dedicated graphics overlays ensure high visual fidelity and stable performance during gameplay. Testing your chosen keybinds and verifying your destination folders before starting a session ensures every important moment is captured cleanly.





Write Your Review
No reviews yet. Be the first to share your experience!