
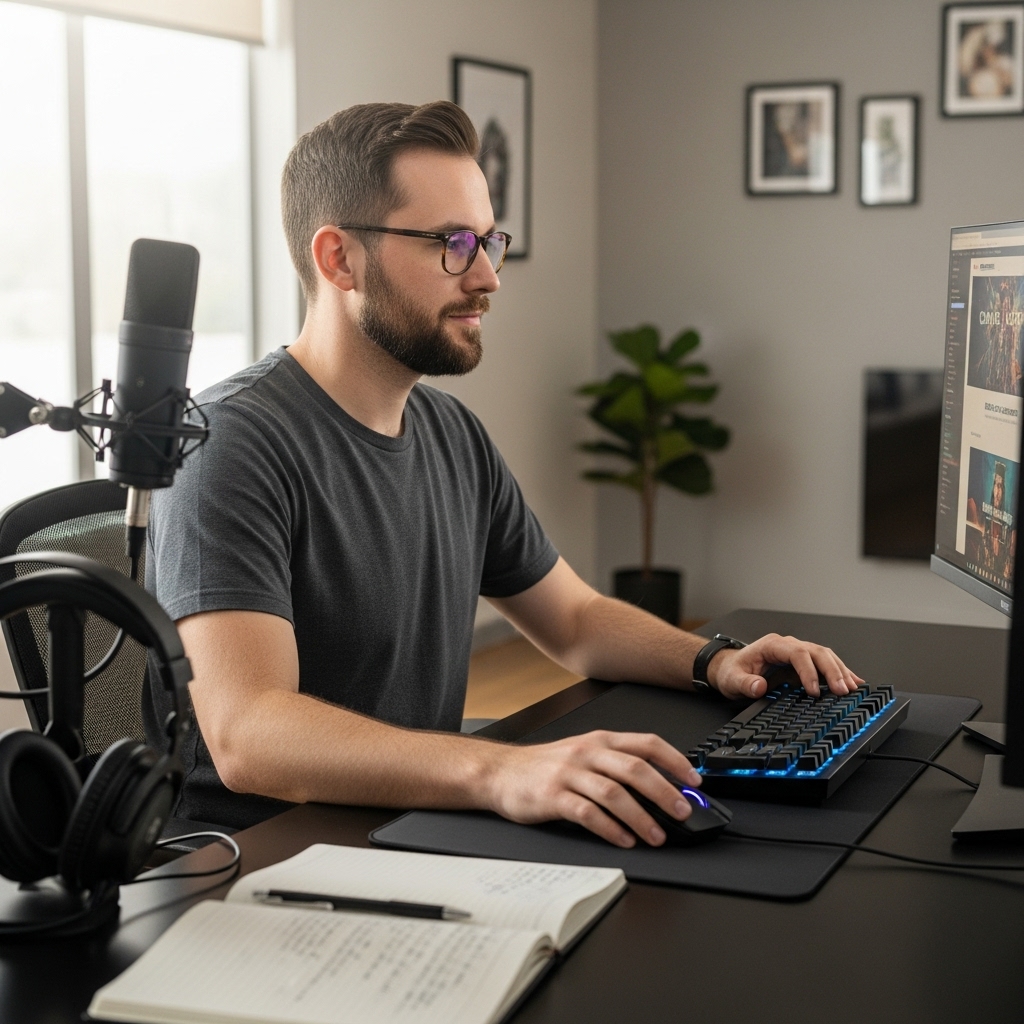

Calibrating an iMac monitor for photo editing requires a dedicated colorimeter and specific software to ensure accurate color representation. The process involves measuring the display’s output and creating a profile that corrects for any color shifts or brightness inconsistencies. While the iMac has excellent factory calibration, environmental changes and hardware aging can alter color accuracy over time. Using a tool like the Calibrite Display 123 allows photographers to maintain consistent color fidelity across sessions and devices.
Many photographers rely on their displays to make critical decisions about white balance, exposure, and color grading. Without proper calibration, images may look vibrant on screen but dull or shifted when printed or viewed on other devices. This article explains the practical steps to calibrate your setup, the importance of regular maintenance, and how to interpret the results. For those managing multiple screens, ensuring both displays match in color is essential for a seamless workflow, as detailed in our dual monitor setup guide.

Calibrating an iMac for photo editing involves using a hardware colorimeter to measure the screen’s actual output and generating a color profile that compensates for any deviations. The goal is to ensure that the colors you see on screen match the intended colors of your photographs as closely as possible.
This is particularly important for photographers who work with clients or prepare images for print, where color accuracy is a professional standard. The process is not a one-time task but a regular maintenance routine that should be performed every few weeks to account for environmental changes and hardware drift.
| Calibration Parameter | Recommended Target | Reason for Setting |
|---|---|---|
| Brightness | 100-120 nits (Photo) | Matches typical viewing conditions and prevents loss of shadow detail. |
| White Point | 6500K (D65) | Standard neutral white for most digital photography workflows. |
| Gamma | 2.2 | Standard gamma for sRGB and Rec.709 color spaces. |
| Color Space | sRGB or Display P3 | sRGB for web; Display P3 for wide-gamut work on compatible iMacs. |
Before starting the calibration, ensure that your iMac has been powered on for at least 20 minutes to allow the display to reach thermal stability. This warm-up period is critical because LCD and LED panels can exhibit color shifts as they heat up. Additionally, turn off any automatic brightness adjustments or night shift features in your macOS display settings.
These features change the color temperature and brightness dynamically, which interferes with the calibration process and leads to inaccurate profiles. You should also close any applications that might be using the display for other purposes to ensure a clean measurement environment.
The calibration process typically follows a guided workflow provided by the software associated with your colorimeter. For example, the Calibrite Display 123 offers a simple 1-2-3 workflow that guides you through placing the device on the screen, starting the measurement, and applying the profile.
During this process, the colorimeter measures the display’s output at various color points and brightness levels. The software then calculates the necessary corrections to map the display’s actual output to the target color space. It is important to place the colorimeter correctly on the center of the screen, covering the target area, to ensure accurate readings across the panel.
Preparing Your Environment for Accurate Measurement
Environmental factors play a significant role in the accuracy of your calibration. Ambient light in your workspace can affect how you perceive colors on the screen, even if the display itself is calibrated correctly. To minimize this impact, try to work in a room with consistent lighting.
Avoid direct sunlight hitting the screen, as it can cause glare and alter the perceived brightness and color. If possible, use neutral-colored walls and avoid strong colored lights in the room. This consistency helps ensure that your visual assessment of the image aligns with the calibrated display output.
Additionally, consider the viewing distance and angle. Calibrations are typically optimized for a specific viewing distance, usually around 20-24 inches for desktop monitors. If you work at a different distance, you might need to adjust your viewing position or consider the implications for your workflow.
For photo editing, a consistent viewing angle is also important. Most monitors are calibrated for a head-on view, so try to position your iMac directly in front of you. This ensures that the color profile is applied under the conditions it was measured, providing the most accurate representation of your images.
Understanding Brightness Targets and White Points
Selecting the correct brightness target is a crucial step in the calibration process. For photo editing, a brightness target of 100-120 nits is often recommended. This level is bright enough to see detail in shadows but not so bright that it washes out highlights or causes eye strain during long editing sessions.
Some software options allow you to choose between “Native” brightness, which uses the display’s maximum output, and “Photo” or “Web” targets, which are lower and more suitable for creative work. For most photographers, the lower target provides a more consistent and comfortable viewing experience, especially in well-lit rooms.
The white point, or color temperature, is another key parameter where the standard for most digital photography is 6500K, also known as D65.
- This white point represents a neutral white that is commonly used in print and digital media applications.
- Setting your white point to 6500K ensures that your images have a neutral color balance, which is essential for accurate skin tones and overall color harmony.
- Some wide-gamut displays may support different white points, but for general photo editing, 6500K is the safest and most standard choice.
- If you are working with specific print standards or client requirements, you might need to adjust this setting accordingly, but for most users, the default 6500K is sufficient.
Applying the Profile and Verifying Results
Once the calibration is complete, the software will generate a color profile that you need to apply to your iMac. This profile is typically installed automatically by the software, but you should verify that it is active in your system display settings. In macOS, you can check the active color profile by going to System Settings > Displays > Color Profile.
Ensure that the newly created profile is selected. If you have multiple displays, you may need to apply the profile to each one individually, especially if you are using a colorimeter that supports dual displays. This ensures that both screens match in color, which is important for a seamless editing workflow.
After applying the profile, it is a good idea to perform a before-and-after check to verify the improvements. Many calibration tools, including the Calibrite Display 123, offer a comparison view that lets you see the difference between the uncalibrated and calibrated states. This can be a powerful way to confirm that the calibration has made a noticeable difference in color accuracy.
Look for more neutral whites, balanced colors, and consistent tones across the image. If you notice any significant shifts or inconsistencies, you may need to repeat the calibration process or adjust your settings. Regular verification helps ensure that your display remains accurate over time.
For those who frequently switch between different color spaces or work with a variety of image types, it is helpful to understand how the profile interacts with your editing software. Most professional photo editing applications, such as Adobe Lightroom and Photoshop, allow you to select the color profile for the working space. Ensure that your working space matches the calibrated profile of your display.
This alignment ensures that the colors you see in your editing software are consistent with the calibrated output of your monitor. If you are working with wide-gamut images, such as those in Display P3 or Adobe RGB, make sure your display and software are set to handle these color spaces correctly. This attention to detail helps maintain color integrity throughout your workflow.
Maintaining Calibration Over Time
Calibration is not a set-and-forget task. Displays can drift in color accuracy over time due to aging components, changes in ambient light, or adjustments made in the display settings. To maintain consistent color accuracy, it is recommended to recalibrate your iMac every 4-6 weeks.
This regular schedule helps account for any gradual changes in the display’s output and ensures that your editing environment remains reliable. If you notice any significant changes in color or brightness, such as a shift toward yellow or a decrease in overall brightness, it may be time to recalibrate sooner.
Keeping a log of your calibration dates and settings can be helpful for tracking changes over time. This log can include the date of calibration, the brightness target used, the white point, and any notable observations about the display’s performance. Over time, this log can provide insights into how your display ages and when it might need replacement.
Additionally, storing your color profiles in a safe location allows you to restore them if your system is reset or if you need to reinstall your editing software. This backup strategy ensures that you can quickly return to your calibrated state without having to repeat the entire calibration process.
For users with multiple displays, maintaining consistency across screens is even more important. If you are using an external monitor alongside your iMac, ensure that both displays are calibrated to the same standards. This is particularly important for tasks that involve moving images between screens, such as comparing a print proof on an external monitor with the original image on the iMac. Mismatched displays can lead to confusion and incorrect color decisions, so regular calibration of all displays in your workspace is essential for a professional-grade editing environment.
Common Challenges and Troubleshooting
Despite the straightforward nature of the calibration process, users may encounter some common challenges. One issue is inconsistent results, where the calibration profile does not seem to improve color accuracy as expected. This can be caused by incorrect placement of the colorimeter, changes in ambient light, or issues with the display’s hardware.
To troubleshoot, ensure that the colorimeter is placed firmly on the center of the screen and that the screen is free of glare or reflections. If the problem persists, try recalibrating in a different lighting environment or checking the display’s hardware for any defects.
Another common challenge is difficulty in maintaining consistent color across different devices, where images may look different on other screens such as smartphones or tablets.
- This occurs because these devices have different color spaces, brightness levels, and viewing conditions that affect how images are displayed.
- While you cannot control the color accuracy of other devices, you can use your calibrated display as a reference point.
- You can make adjustments in your editing software to account for the differences between your display and other screens.
- For example, if you know that your images will be viewed primarily on mobile devices, you might adjust the color balance.
- Adjusting the color balance in your editing software helps compensate for the typical color shifts of those specific devices.
If you are experiencing issues with the calibration software not recognizing the colorimeter, check the connection and ensure that the device is properly powered. For USB-C connected colorimeters, make sure the cable is securely connected to both the colorimeter and the iMac.
If the device is not recognized, try using a different USB port or cable. Additionally, ensure that the latest drivers and software updates are installed on your iMac. Manufacturers often release updates to improve compatibility and fix bugs, so keeping your software up to date can help resolve connection and recognition issues.
Choosing the Right Colorimeter for Your Workflow
When selecting a colorimeter for your iMac, consider the features that align with your specific workflow. For photographers, a device that supports dual displays is a valuable feature, as it allows you to calibrate both your iMac and an external monitor for consistent color.
The Calibrite Display 123, for example, supports up to two displays, making it a versatile choice for multi-screen setups. Additionally, look for a colorimeter with a user-friendly software interface that offers guided workflows and easy-to-understand settings. This is particularly important for users who are new to calibration or who want to minimize the time spent on this maintenance task.
Connectivity is another important factor to consider. Modern colorimeters often use USB-C connections, which are standard on recent iMac models. A USB-C connection ensures a stable and reliable data transfer between the colorimeter and the computer, which is essential for accurate measurements.
If your iMac has USB-A ports, you may need an adapter, but a native USB-C connection is preferable for convenience and compatibility. Additionally, consider the size and weight of the colorimeter. A compact and lightweight device is easier to store and transport, which is useful if you calibrate multiple displays in different locations or if you work in a small studio space.
Finally, consider the cost and value of the colorimeter. While there are various price points available, investing in a reliable and accurate colorimeter can save you time and money in the long run by ensuring that your images are consistently accurate. Look for devices that offer good customer support and software updates, as these can extend the life of your equipment and keep your workflow up to date with the latest standards.
For many photographers, a mid-range colorimeter that offers dual display support, easy setup, and accurate measurements is the best balance of cost and functionality. This investment helps ensure that your photo editing work meets professional standards and client expectations.
Regular calibration is a small effort that yields significant benefits for photo editors. By maintaining an accurate display, you can make confident decisions about color and exposure, knowing that what you see on screen is a true representation of your images. This consistency is essential for professional work and for ensuring that your final output matches your creative vision. Whether you are working on a single iMac or a multi-display setup, taking the time to calibrate your monitor is a worthwhile investment in the quality of your photo editing workflow.
If you are looking to expand your setup with additional displays for more efficient editing, consider how monitor placement affects your workflow. Our guide on office display setups offers insights into arranging multiple screens for productivity, which can be adapted for creative work as well.




Write Your Review
No reviews yet. Be the first to share your experience!