
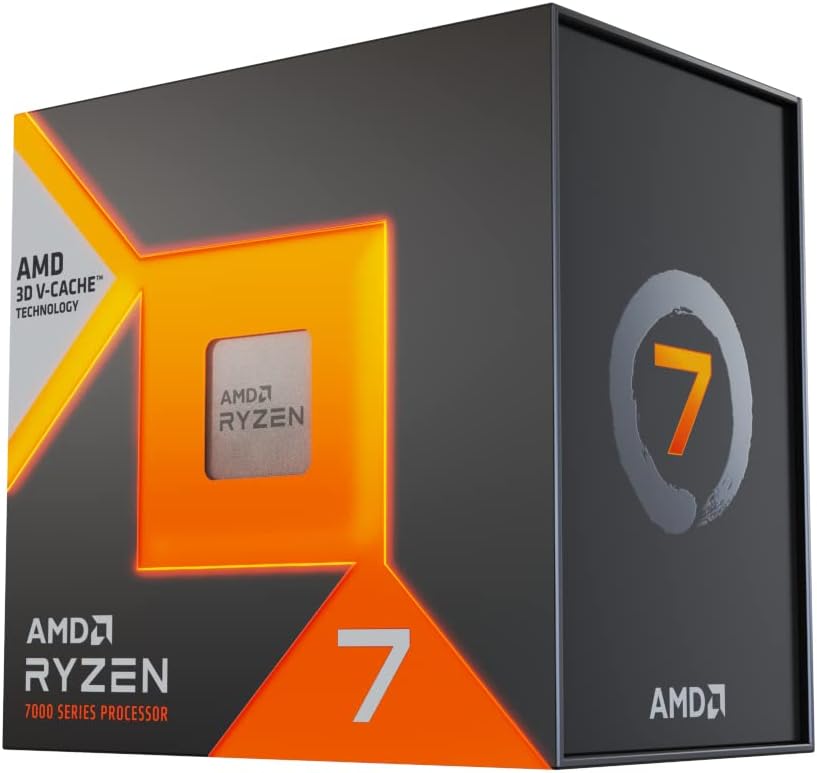
Pushing modern games to run smoothly often leads players to wonder whether their current hardware can keep up with newer graphics engines and demanding visual settings. If you find your system struggling to maintain consistent frame rates, asking how do you upgrade your desktop is the first logical step before spending money on an entirely new computer. Upgrading specific hardware components can breathe new life into an aging rig, provided you understand where system limitations originate and how each part interacts with the rest of your build. Checking your current hardware configuration against gaming CPU requirements helps determine whether your processor or graphics card is holding back performance.
Planning a successful hardware refresh requires balancing component compatibility, power delivery, physical case space, and thermal management. A mismatched component can cause frustrating bottlenecks, system instability, or even physical fit issues inside compact chassis. Learning how do you upgrade effectively means learning how to inspect your existing power supply, verify motherboard socket support, and follow safe installation routines. With a methodical approach to evaluating your system, you can extend the useful lifespan of your gaming desktop while keeping your overall setup aligned with your performance goals.


A Practical Guide to Upgrading Your Gaming Desktop
Upgrading a gaming PC is a methodical process of identifying performance bottlenecks, verifying physical and electrical compatibility, and installing compatible components in a logical order. Rather than replacing every part at once, a targeted component swap allows you to address specific performance shortcomings, such as low frame rates at higher resolutions or sluggish game loading times. Success depends on understanding how your processor, graphics card, system memory, and power delivery cooperate during demanding gaming sessions. Taking the time to evaluate your existing build prevents costly mismatch errors and ensures your upgraded desktop delivers consistent stability.
Diagnosing Hardware Bottlenecks Before Purchasing Parts
Before ordering any replacement hardware, you must pinpoint which component currently limits your system performance. Running an in-game hardware monitoring overlay while playing your favorite titles reveals whether your graphics processing unit or central processor reaches maximum utilization first. If your graphics card consistently hovers at ninety-nine percent utilization while the processor remains relatively idle, your graphical processing power is your primary constraint. Conversely, a central processor pegged at maximum capacity alongside fluctuating graphics card usage suggests that a processor upgrade will provide the most noticeable improvement in frame rate consistency.
Background applications and system memory constraints can also disguise themselves as hardware bottlenecks during intense gaming sessions. When your system exhausts its physical random access memory, Windows offloads active data to your storage drive, introducing severe frame drops and stuttering. Observing background resource allocation through the Windows Task Manager helps clarify whether insufficient memory or background processes are harming gaming fluidity. Documenting these utilization patterns across several gaming sessions gives you the factual baseline needed to choose your upgrade path wisely.
Prioritizing Which Component to Upgrade First
Most desktop gamers see the most immediate return on investment by upgrading either the graphics card or the system memory. Upgrading a graphics card directly improves visual rendering capabilities, allowing you to run games at higher resolutions or with richer visual effects enabled. Meanwhile, expanding system memory from a single stick to a dual-channel configuration eliminates memory bandwidth bottlenecks that frequently cause micro-stutters in open-world titles. Selecting the component that directly addresses your primary symptom ensures that your upgrade budget produces tangible improvements.
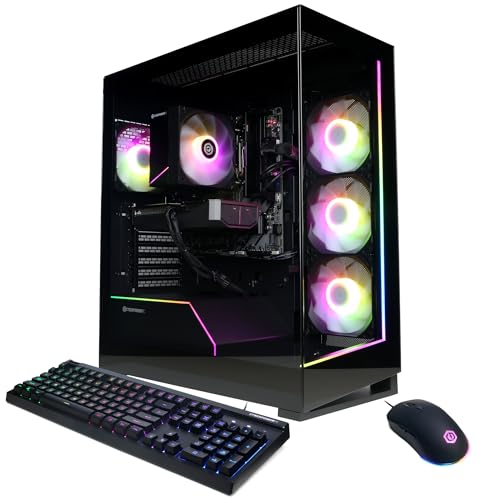
Transitioning your primary storage from an older spinning hard disk or legacy SATA solid-state drive to a fast NVMe M.2 drive is another high-impact upgrade. Modern games increasingly rely on rapid asset streaming directly from storage to eliminate visual pop-in and shorten transition screens. If you are comparing your custom upgrade path against prebuilt gaming desktop configurations, you will notice that high-speed solid-state storage is standard equipment in modern builds. Upgrading storage rarely increases raw maximum frame rates, but it dramatically improves everyday desktop responsiveness and level load speeds.
Verifying Power Supply Capacity and Connector Requirements
Every hardware upgrade alters the electrical demands placed on your desktop power supply unit. Modern performance graphics cards can draw significant wattage under load, with sudden transient power spikes that can overwhelm an inadequate power supply. You must verify that your current power supply provides sufficient total wattage to support the combined maximum power draw of your upgraded components. Inspecting the manufacturer label on the side of your power supply reveals its rated continuous wattage output and available amperage on the twelve-volt rail.
Physical power cable connections require equal scrutiny, as higher-tier components demand specific supplemental power inputs. Modern graphics cards may require multiple eight-pin PCIe connectors or newer dedicated twelve-pin high-power cables to operate safely. Using daisy-chained splitters or low-grade adapters on high-draw graphics cards can introduce electrical hazards and cause unexpected system shutdowns during intense gaming moments. Checking that your power supply possesses native cables for your intended components preserves electrical stability and avoids hardware damage.
Checking Motherboard Sockets, Chipsets, and BIOS Versions
The motherboard dictates which processors, memory standards, and expansion cards your desktop can physically and electrically accommodate. If you plan to upgrade your central processor, you must verify that your motherboard features the correct CPU socket type and a compatible chipset generation. Motherboard manufacturers publish detailed CPU support lists on their official product support pages, specifying which processor models are validated to run. Consulting this official documentation prevents the frustration of buying a processor that physically fits the socket but lacks firmware support.
Many motherboards require a firmware or BIOS update before they can recognize newer generations of processors built on the same socket design. Flashing the motherboard BIOS should always be completed using your old processor while the system is fully functional and stable. You should also verify memory standard compatibility, noting whether your motherboard requires DDR4 or DDR5 memory modules. Inserting the wrong generation of memory is physically impossible due to key notch differences, so confirming these motherboard specifications beforehand saves valuable time.
Assessing Case Dimensions, Clearance, and Airflow Paths
Desktop computer cases vary widely in their internal clearances, and newer high-performance components have grown substantially in physical size. Triple-fan graphics cards often measure well over three hundred millimeters in length and occupy three or more expansion slots. Before purchasing a new graphics card, measure the distance from the rear expansion brackets to the front intake fans inside your chassis. Failing to check physical clearances can leave you with a card that collides with front radiators, drive cages, or cable management brackets.
Processor cooling upgrades also present clearance challenges that require careful pre-purchase measurements. Large dual-tower air coolers require substantial height clearance between the motherboard surface and the case side panel. Similarly, liquid cooling radiators require specific mounting points and adequate clearance above motherboard heat sinks and memory sticks. Ensuring that your chassis has sufficient fan mounting locations and unrestricted mesh ventilation allows newly installed performance hardware to breathe properly under prolonged gaming loads.
Step-by-Step Procedure for Installing Memory and Storage
Installing memory modules and solid-state drives is typically the most straightforward upgrade procedure for desktop gamers. To begin, shut down your computer completely, switch off the power supply, and disconnect the main power cable from the wall outlet. Press the front power button once to discharge any residual electrical energy stored in the motherboard capacitors before opening the chassis panel. Grounding yourself by touching an unpainted metal surface of the chassis prevents electrostatic discharge from damaging delicate silicon circuitry.
When adding or replacing RAM, push down the retention clips on the motherboard DIMM slots and align the notch on the memory stick with the slot key. Press down firmly on both ends of the memory module until the retaining clips click securely into their locked position. For an M.2 NVMe solid-state drive, slide the drive into the designated M.2 slot at a thirty-degree angle and secure it with the provided mounting screw. Take care not to overtighten tiny mounting screws, which can crack the circuit board or strip the mounting standoff threads.
Safe Installation Routine for Graphics Cards and Processors
Upgrading core processing hardware requires patience, clean workspace preparation, and attention to mechanical release mechanisms. When removing an existing graphics card, first unscrew the bracket retaining screws at the rear of the case and release the plastic PCIe slot latch. Pull the card straight out of the slot without twisting, then carefully align your new card and press it firmly into the slot until the latch engages. Examining entry-level graphics card builds demonstrates how proper seating and dedicated power cabling keep even compact configurations operating reliably.
Processor installation requires extra precision because bent pins on the motherboard socket or processor underside will ruin the component. Lift the socket retention lever, align the alignment triangle on the processor corner with the socket mark, and gently lower the processor into place without applying downward force. After securing the retention lever, apply an even, pea-sized dot of quality thermal paste to the center of the heat spreader. Mount your CPU cooler evenly by tightening screws in a diagonal cross pattern to maintain uniform pressure across the processor surface.
Post-Installation Operating System Configuration and Driver Setup
Hardware installation is only half the battle; proper software configuration ensures that your operating system communicates seamlessly with your new components. If you have installed a new graphics card from a different manufacturer, using a display driver uninstaller utility in safe mode cleans out old driver remnants. Installing the latest official graphics drivers directly from the manufacturer website ensures support for modern gaming titles and features. A clean driver installation minimizes visual artifacting, stuttering, and unexpected crashes in graphic-intensive games.
Memory upgrades often require entering the motherboard BIOS to enable extreme memory profiles, commonly known as XMP or EXPO. Out of the box, memory sticks default to conservative standard speeds, meaning your system will not utilize the advertised frequency until you enable the performance profile. In addition, newly installed solid-state drives need to be initialized and formatted through the Windows Disk Management utility before they appear in File Explorer. Verifying these software settings ensures that your hardware operates at its intended performance potential.
Post-Upgrade Verification and Thermal Monitoring
Once your operating system is running and drivers are installed, rigorous stability testing confirms system stability and thermal safety. Launching a reliable hardware monitoring tool allows you to observe operating temperatures for both your processor and graphics card during sustained gaming loads. Components should remain well within their manufacturer-specified operating temperature limits to avoid thermal throttling, which forcibly lowers clock speeds to prevent overheating. If temperatures rise too close to maximum thresholds, adjusting fan curves or improving case ventilation can restore healthy thermal margins.
Finally, run a built-in game benchmark or play an extended session of your most demanding game to verify stability under real-world conditions. Watch for visual glitches, audio hitches, or sudden reboots that might indicate an unstable power supply or memory timing errors. If any instability surfaces, double-check that all power cables are seated firmly and that memory sticks are securely latched in the recommended motherboard slots. Confirming that your system remains cool and stable gives you total confidence in your upgraded gaming desktop.
Upgrading your gaming PC is a rewarding and cost-effective way to maintain high gaming performance without purchasing an entire new system. By methodically diagnosing bottlenecks, confirming component compatibility, and taking appropriate electrical and mechanical precautions, you can transform your gaming experience safely. Always consult official manufacturer manuals for specific torque ratings, BIOS revisions, and power specifications whenever you replace critical hardware components. With the right planning and careful assembly, your refreshed desktop will continue powering your gaming adventures for years to come.




Write Your Review
No reviews yet. Be the first to share your experience!